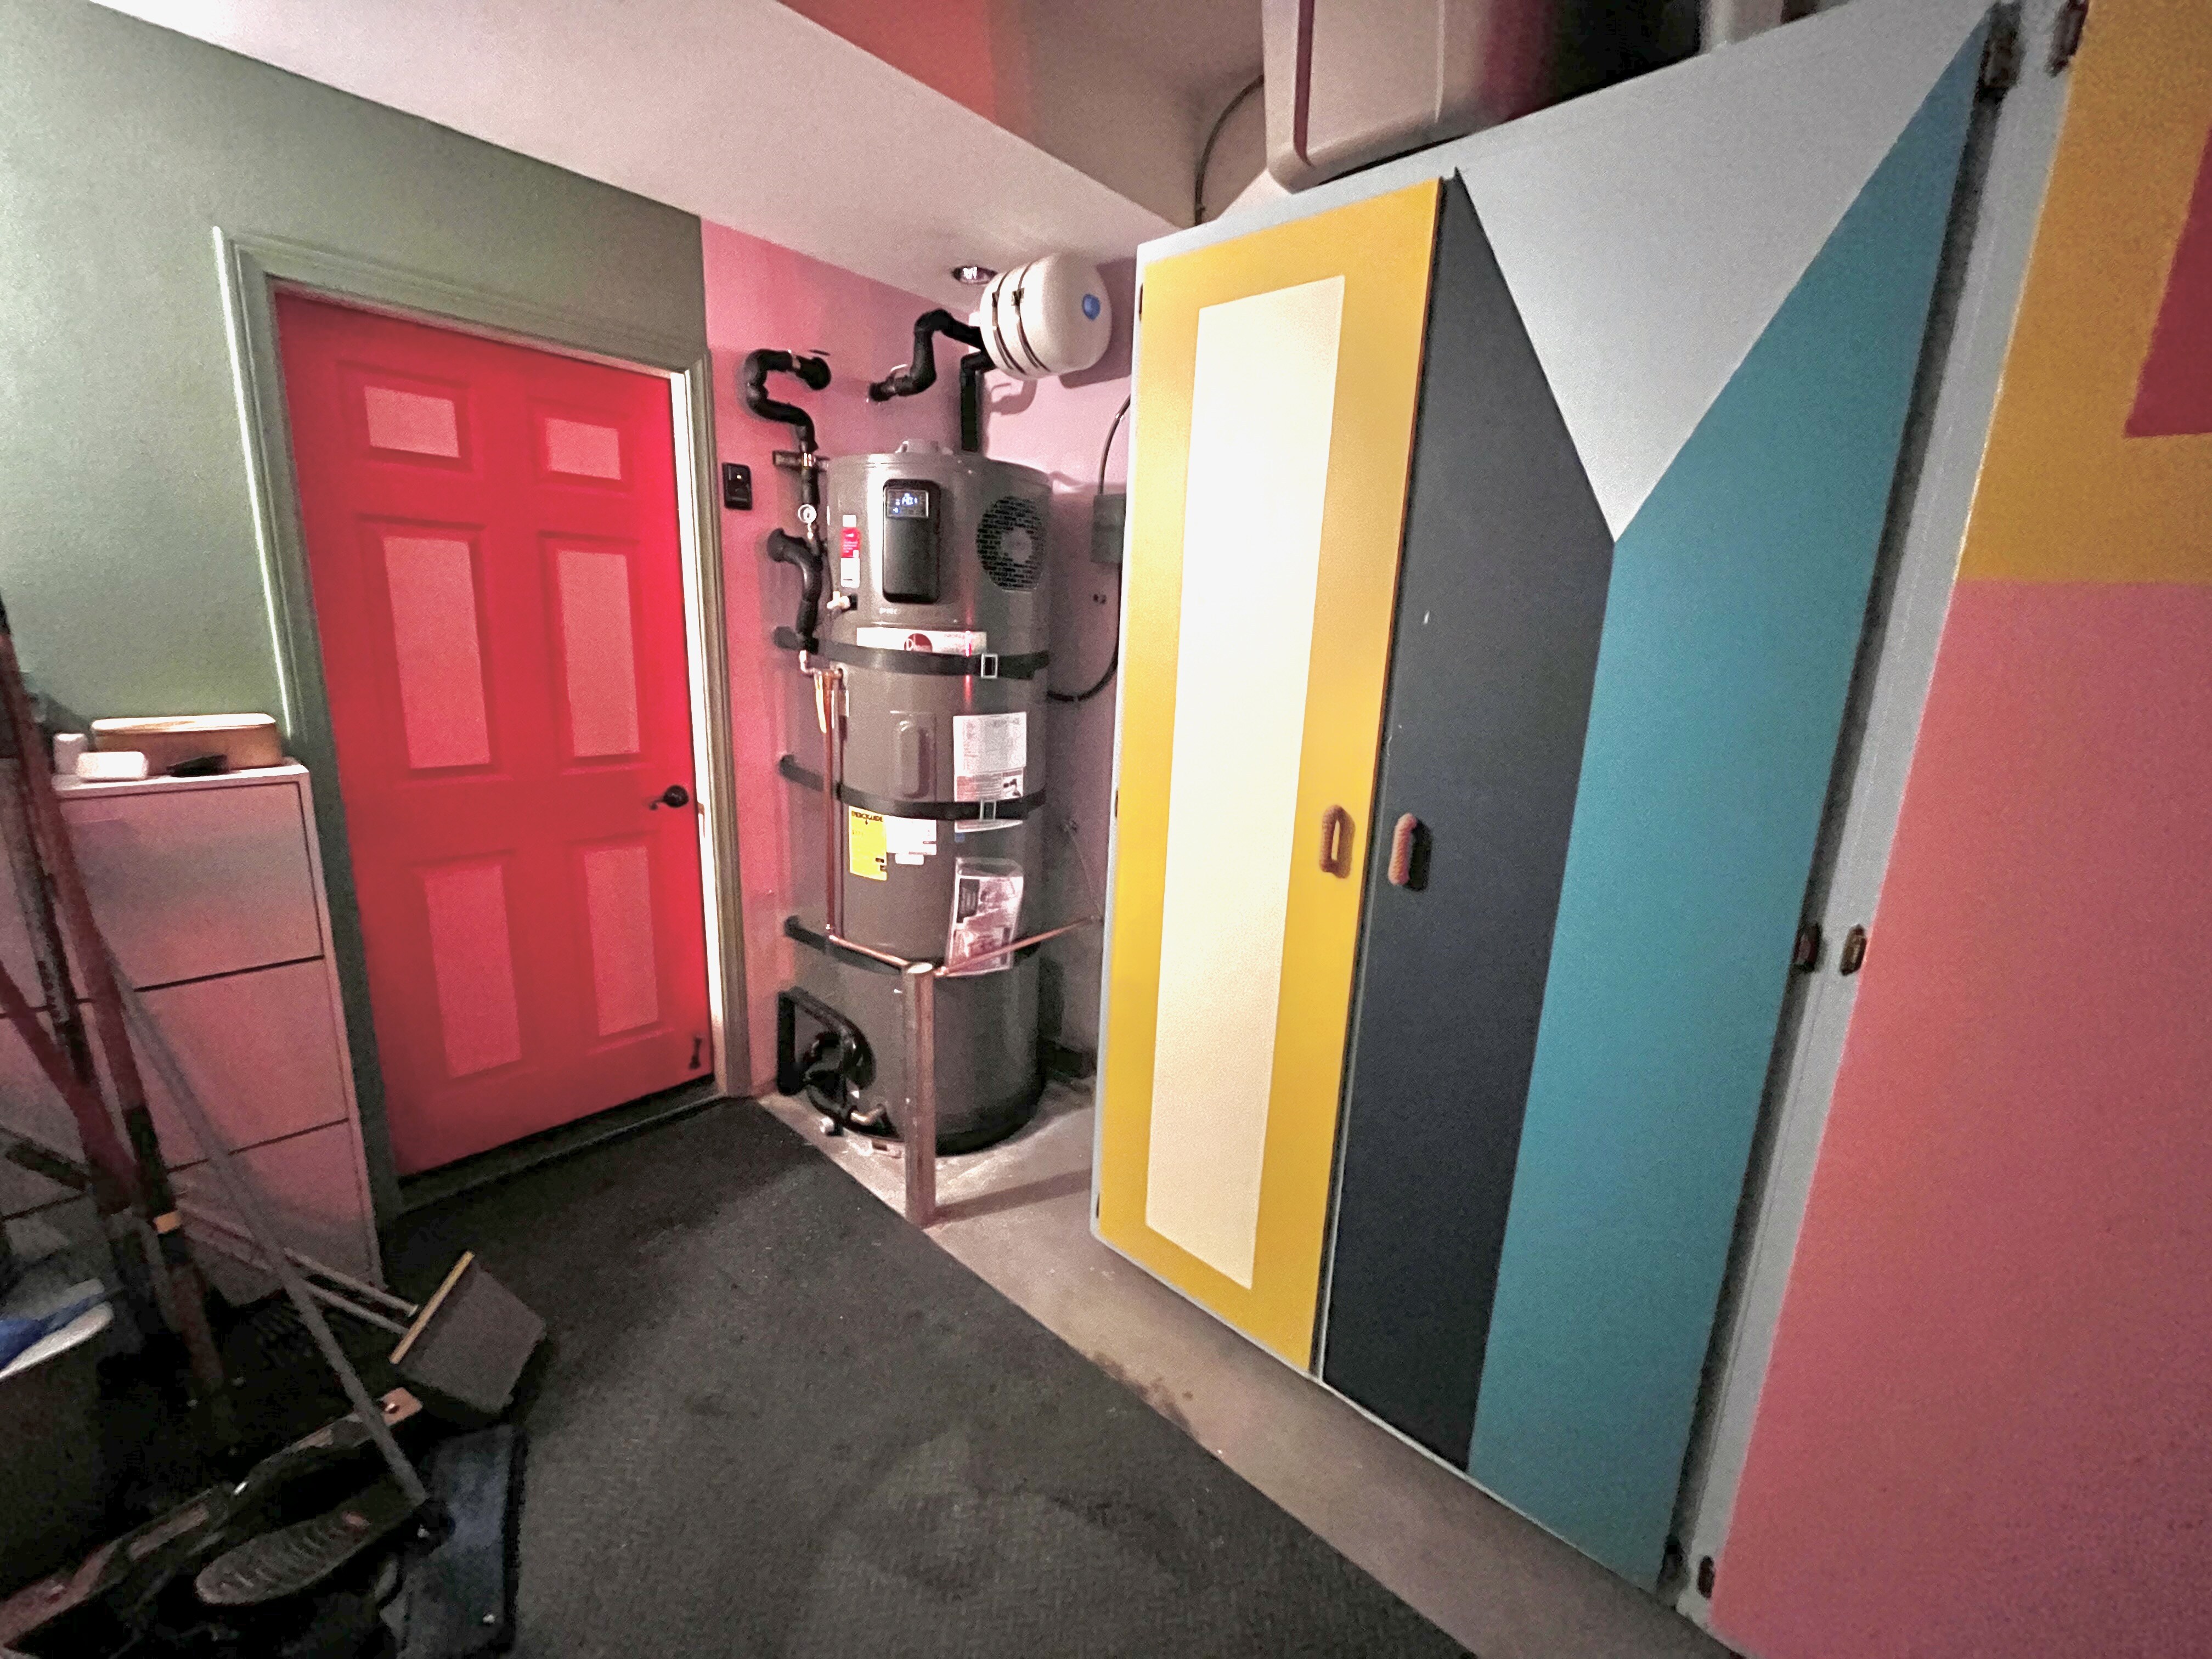

What to Expect Before, During, and After Your Heat Pump Water Heater (HPWH) Upgrade
Part of our series "What to Expect Before, During, and After Your Clean Energy Upgrade"
A heat pump water heater is one of the simplest and most satisfying upgrades you can make. It works like a refrigerator in reverse, pulling heat from the surrounding air into your water, and it's typically three times or more efficient as a gas water heater. It's also the fastest project in this series: most of our clients go from first contact to hot water from their new tank in two to four weeks, with the installation itself done in a single day. Here's what to expect.
BEFORE: Getting your quote (a few days to 2 weeks)
1. Send photos (1–2 days). Many heat pump water heater installers can quote from photos, with no home visit needed. Take:
- A wide “step-back” photo of your current water heater and the space around it.
- A close-up of the nameplate label.
- A photo of your electrical panel.
Upload them to your QuitCarbon Home Profile or send them to your contractor. The faster your photos arrive, the faster your quote does.
2. Review your proposal (same day to one week). A good proposal covers:
- Tank size: usually 50, 65, or 80 gallons. Larger tanks can run more often in efficient heat-pump-only mode.
- Electrical: whether you require a new 240V circuit or whether a 120V plug-in model works for your home. The 120V option can help if your electrical panel is near capacity.
- Plumbing details: a mixing valve (which stretches your hot water supply), a condensate drain line, seismic straps, and, if there's no floor drain, possibly a leak-detection or automatic shutoff device.
- Permit: the removal of your old tank and capping the gas line.
Send it to QuitCarbon, and we'll review sizing, price, and available rebates.
3. Think about location. Heat pump water heaters need room to breathe. The Department of Energy recommends a spot that stays between 40°F and 90°F year-round with about 1,000 cubic feet of air around the unit. Garages, basements, and utility rooms usually work well. Ask your contractor about two things:
- Sound: most units hum quietly, similar to a refrigerator or a small fan.
- Cool air: the unit exhausts cooler air, which some homeowners enjoy in a warm garage and which can be ducted outside if needed.
DURING: Scheduling and installation (1–3 weeks)
4. Sign and schedule (1–3 weeks out). Installs are typically booked within a few weeks, and contractors often call if an earlier slot opens up. If rebates require pre-approval, confirm that's done before your install date.
5. Take “before” photos. Some rebate programs require photos of your old gas water heater and the capped gas line. Snap them before the old tank is hauled away.
6. Installation day (typically one day). Expect your hot water to be off for several hours. The crew will:
- Drain and remove the old tank and cap the gas line.
- Set the new unit and connect the plumbing, mixing valve, and condensate drain.
- Collaborate with an electrician, if needed, to run a new circuit.
Before they leave, ask them to walk you through the operating modes (heat pump only, hybrid, high demand, vacation), the temperature setting (120°F is common), and how to clean the air filter.
AFTER: Inspection, settling in, and rebates (2 weeks to 2+ months)
7. Final permit inspection (2 weeks to 2+ months). Your contractor schedules the city inspection, and someone will need to be home to let the inspector in. Timelines vary a lot by city. This step matters more than it seems: some rebates require a finalized permit before you can apply, so ask your contractor to schedule the inspection promptly.
8. Getting used to your new water heater (first few weeks).
- Recovery: the tank reheats more slowly in heat-pump-only mode than a gas heater did. If you have a big day (guests, back-to-back showers), switch to hybrid or high-demand mode temporarily.
- Sound and airflow: you may hear a gentle hum and feel cooler air near the unit. Both are normal.
- Maintenance: clean the air filter every few months, and check that the condensate line is draining.
- Tuning: many households find they can run in the most efficient mode almost all the time.
9. Rebates and paperwork (weeks to months). Gather your paid, itemized invoice; the equipment spec sheet and AHRI certificate (your contractor can provide these); your finalized permit; and your photos. Some programs are applied for by your contractor and others by you. Claim your QuitCarbon rebate once the project is complete.
Quick reference: typical timeline
| Stage | Typical time | What can stretch it |
|---|---|---|
| Photos and quote | Same day – 1 week | Waiting on photos, site visit is needed |
| Decision | Days – 2 weeks | Comparing bids, noise, or space questions |
| Scheduling | 1–3 weeks | Busy season (often sooner) |
| Installation | 1 day | Electrical or drain work |
| Permit final | 2 weeks – 2+ months | City inspection backlog |
| Rebates paid | Weeks – months | Missing documents, program funding |
Tips from homeowners who've been there!
- Upload clear photos right away; it's the fastest path to a quote.
- Ask whether your home needs a 240V circuit or can use a 120V model.
- Take photos of your old gas water heater before it's removed.
- Ask your contractor to schedule the final inspection promptly.
- Ask QuitCarbon to connect you with a past client if you're worried about noise.
Heat pump water heaters are quiet workhorses. Most of our clients forget about theirs within a week, except when they see their gas bill shrink. We're here to help at every step of the way.